-
To make the cookies: In the bowl of a stand mixer fitted with the flat beater attachment or working in a large bowl with an electric hand mixer, beat the sugar, butter, vanilla, and salt until smooth, 2 to 3 minutes at medium speed.
-
Add the egg yolk and beat until smooth. Scrape the bottom and sides of the bowl with a flexible spatula to make sure everything is thoroughly combined.
-
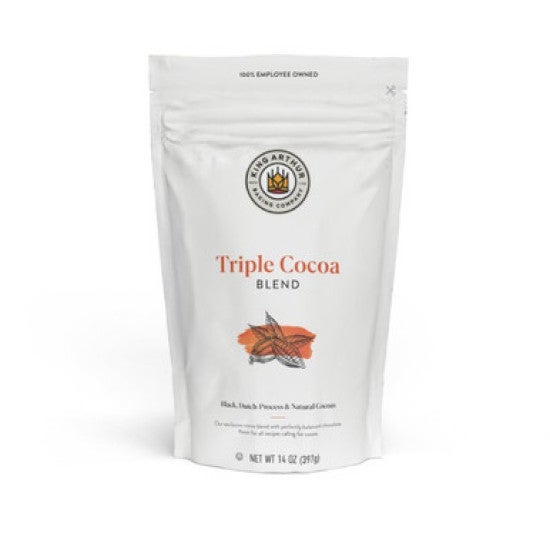
Add the flour and cocoa powder and mix on low speed until the dough comes together and no dry spots remain.
-
Portion the dough into 24 pieces, about 20g each; a scant Tablespoon Scoop works well here. Roll each piece into a ball between the palms of your hands and place into the wells of a lightly greased mini muffin pan.
-
To form the dough into a shallow cup, use a lightly floured round teaspoon measuring spoon, the bottom of a small bottle, a cork, or your fingertips to press into the center of each dough ball. Pressing into the center will push the dough up the sides of the pan; aim for the dough to be even with the top of the pan. (It’s OK if the dough cracks along the rim; if desired, use your fingers to smooth out any cracking that appears.) Re-flour your tool or fingertips between pressing each piece of dough to prevent sticking.
-
Once all the cups have been formed, transfer the pan, uncovered, to the refrigerator or freezer to chill; 20 minutes in the refrigerator or 10 minutes in the freezer. Meanwhile, preheat the oven to 375°F with a rack in the center.
-
Remove the pan from the refrigerator or freezer and bake for 14 to 18 minutes, until the edges of the cookie cups are set and you smell chocolate.
-
Remove the pan from the oven and repeat the pressing process to reinforce the cup shape. Transfer the pan to a wire rack to cool completely.
-
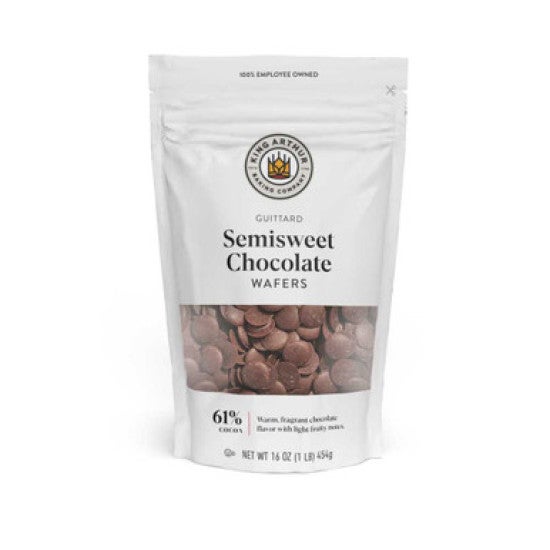
To attach the handles: Place the chocolate for the handles in a small, microwave-safe bowl and heat in the microwave in 30-second bursts at 50% power, stirring between each, until fully melted.
-
Once the chocolate cookie cups are cool, remove them from the pan. It’s helpful to gently insert the tip of a toothpick or a paring knife between the pan and the edge of the cookie cup to release it.
-
Using a chef or serrated knife, cut each pretzel in half, down the center, to separate the two top “loops” of the pretzel while keeping them intact: You will have two somewhat-circular pieces, each with one rounded side and two straighter sides. Discard or snack on the rounded bottom piece of the pretzel. Have a few extra pretzels on hand in case any break unevenly; you’ll need total of 24 “handles.”
-
Dip the straight, cut edge of the pretzel handle into the melted chocolate and adhere it to the side of a chocolate cookie cup. Hold each handle in place for a few seconds, until the chocolate begins to set.
-
As you work, turn the cookie cups upside-down on a parchment-lined baking sheet, positioning them so the cups are resting on the rim of the pan and the handles aren’t supporting the cups’ weight. Allow the chocolate to set completely before continuing with the recipe, at least 2 hours and preferably overnight.
-
To make the ganache: Once the handles are fully set, gently place each chocolate cookie cup right-side up.
-
In a measuring cup with at least a 2-cup capacity, place the chocolate and butter. Heat the cream in a saucepan over low heat or in the microwave until it begins to steam. Pour the hot cream over the chopped chocolate and butter, and let it sit undisturbed for 2 to 3 minutes. Stir until the ganache is completely smooth.
-
Fill each chocolate cookie cup to the top with ganache, about 2 tablespoons (9g) each. Top with several mini marshmallows and allow the ganache to set completely before eating or transporting, about 1 hour. Before serving, sift cocoa powder over the tops of the hot cocoa cookies.
-
Storage information: Store leftover hot cocoa cookies, covered, at room temperature for up to 1 week; freeze for longer storage.